Introduction
How To Remove Window Tint From Back Window: Window tinting can provide numerous benefits, such as increased privacy, reduced glare, and protection from harmful UV rays. However, there may come a time when you need to remove the tint from your back window. Perhaps the tint has started to bubble, fade, or no longer complies with local regulations. Whatever the reason, knowing how to effectively remove window tint from your vehicle’s back window is a valuable skill for any car owner.
We will walk you through the step-by-step process of removing window tint from the back window of your car. We will cover various methods and techniques, ensuring that you have the knowledge and confidence to tackle this task successfully.
You’ll learn about the essential tools and materials needed for the job, including heat guns or hairdryers, a sharp utility knife, adhesive remover, and protective gear. We’ll emphasize safety measures like ventilation and eye protection for safe removal.
We will explore the differences between factory-installed and aftermarket window tint and how these distinctions can affect the removal process. You’ll discover tips and tricks to minimize the mess and make the job as smooth as possible, even if you’re tackling it for the first time.
By the end of this guide, you’ll be well-equipped to remove window tint from your back window, whether you’re doing it for practical reasons, aesthetics, or simply to refresh the look of your vehicle. So, let’s get started on this journey to mastering the art of window tint removal for your car’s back window.

How do you remove tint residue from rear windows?
Fortunately, removing tint glue from a rear car window only requires rubbing alcohol, WD-40, or a heating gun. To remove tint glue with rubbing alcohol, follow these steps: Dip a soft cloth in the alcohol. Rub in a circular motion to remove the glue.
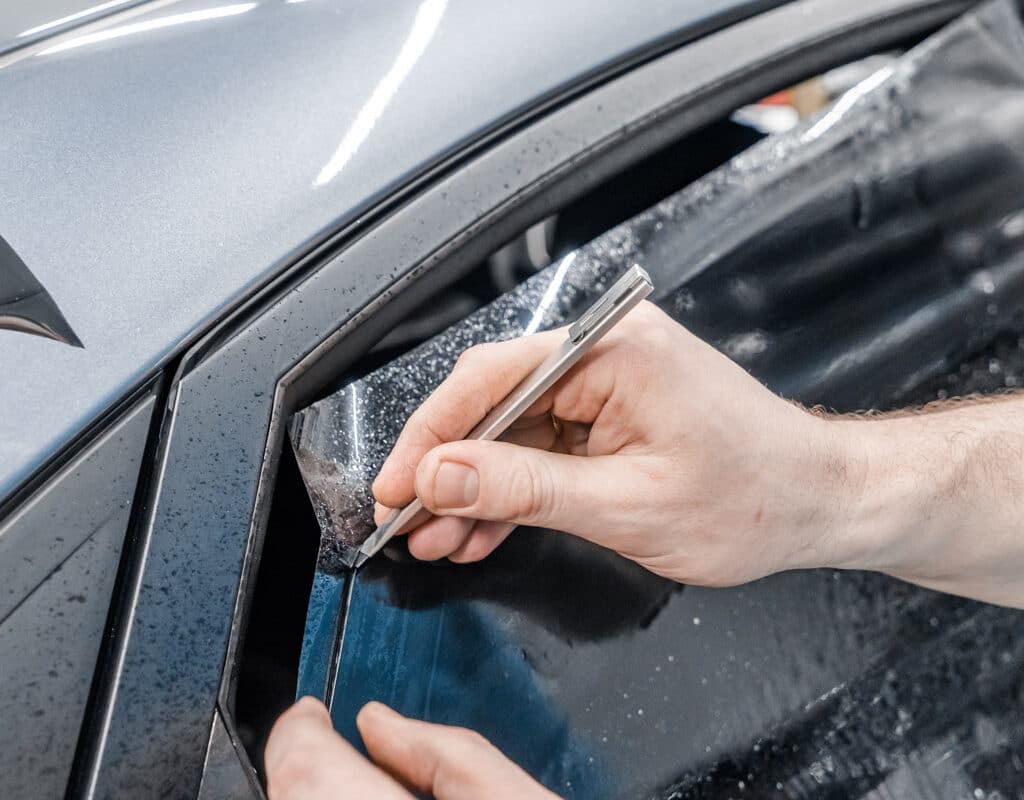
Removing tint residue from rear windows can be a bit challenging but entirely doable with the right approach. After you have successfully peeled off the tint film, you may notice adhesive residue left behind. One effective method is to use a combination of heat, a razor blade, and an adhesive remover. First, warm the residue with a heat gun or a hairdryer to soften it. Gently use a low-angle razor blade to scrape softened residue, avoiding glass scratches.Be sure to wear protective gloves and work slowly to minimize the risk of accidents.
Once most of the residue is removed, you can apply an adhesive remover to a clean cloth and gently rub the remaining sticky spots. Be cautious not to use abrasive materials or excessive force, as this can damage the glass. Clean the window with glass cleaner or soapy water to remove any remaining residue. This method should leave your rear windows clean and free from tint residue.
What is the easiest way to remove window tint film?
Some window tint professionals use heat guns to remove window tint. I’ve always used a portable steamer, like the ones used to remove wrinkles from clothing, for several reasons: Heat guns can quickly melt interior trim if you hold the gun too close to trim while trying to remove window tint.
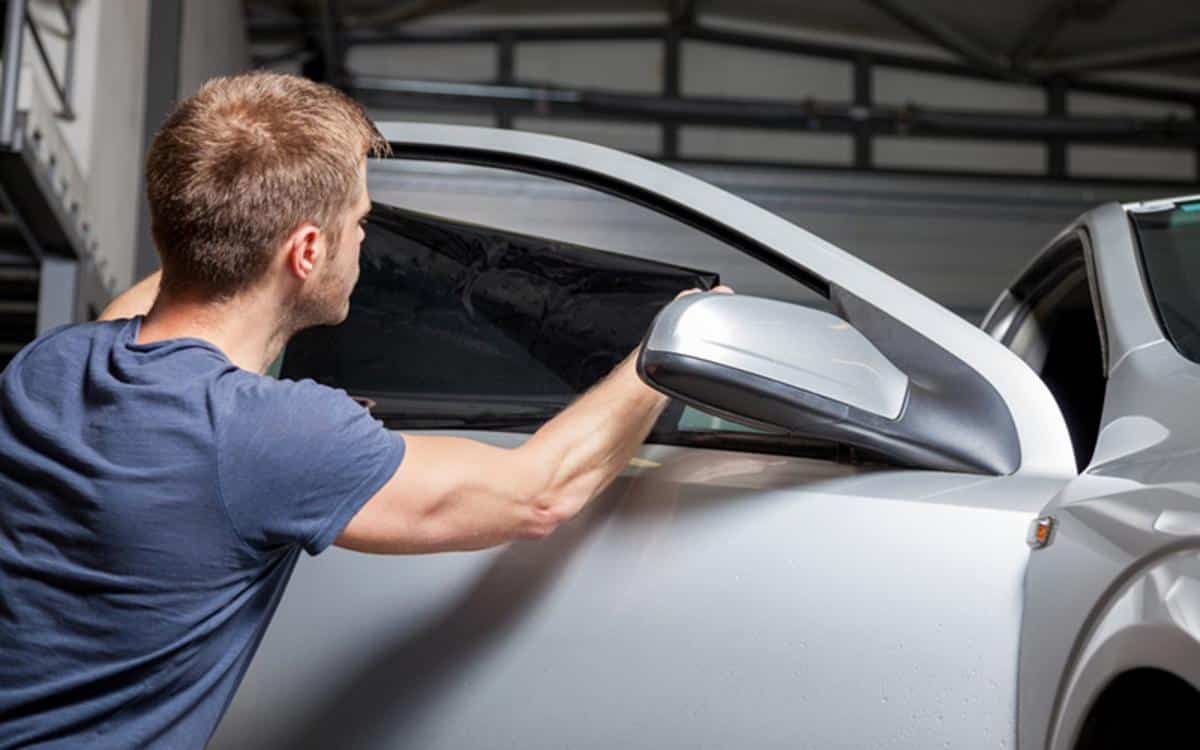
The easiest way to remove window tint film is by using the heat and adhesive method. You’ll need a heat gun or a hairdryer and a utility knife or razor blade for this process. Start by warming the tint film with the heat gun or hairdryer, focusing on one corner or edge. When the film peels away after heating, carefully lift a corner with the utility knife or razor blade. Pull the film slowly and evenly, keeping it warm as you go along to ensure it peels off cleanly.
Address remaining adhesive with adhesive remover or soapy water and a plastic scraper.. Apply the remover or soapy water, let it sit for a few minutes, and then gently scrape away the adhesive. The heat and adhesive method is relatively easy and effective, making it a popular choice for tint removal.
Can you safely remove window tint?
Steam Cleaning
You can remove 3M window tinting in minutes using a standard fabric steamer. After several minutes of steaming the window, you’ll melt the glue, and the tint will come right off.
Yes, you can safely remove window tint, but it’s crucial to follow proper procedures and take safety precautions. Safety gear like gloves and eye protection is crucial when handling sharp tools and chemicals during tint removal. Adequate ventilation is also necessary to disperse any fumes from adhesive removers.
Patience and care are vital during the process. Prevent damage and residue by using proper tools and techniques, avoiding haste during tint removal. Most methods for removing window tint can be done safely by following step-by-step instructions and being cautious.
What liquid removes window tint?
Easily remove window tint with the Black Magic Tint-Off Tint Adhesive Removal Fluid. Removing tint can be an easy process if you have the correct tools. Start off by using a stainless razor and your fingers to remove window tint. The adhesive layer may remain on glass.
A common liquid used to remove window tint is an ammonia-based cleaner. Ammonia is effective at softening the adhesive, making it easier to peel off the tint film. You can create your own ammonia-based solution by mixing equal parts of water and household ammonia. Spray or apply this mixture onto the tinted window, let it sit for a few minutes to soften the adhesive, and then gently peel off the tint.
Alternatively, you can also use commercial adhesive removers specifically designed for window tint removal. These products are readily available and often contain a blend of solvents that effectively dissolve the adhesive without harming the glass. Follow manufacturer’s instructions and safety measures when using liquid for tint removal to protect yourself.
Can I remove tint without heat?
One of the simplest methods is to use soapy water. Simply mix a dish soap solution and water, and then use a sponge or cloth to apply it to the tinted window. You may need to scrub gently to loosen the adhesive, but eventually, the tint should start to peel away.
Heat is effective, but you can remove tint without it, although it’s more challenging and time-consuming.One alternative method involves using soapy water and a razor blade. Begin by spraying a mixture of warm soapy water onto the tinted window. Then, gently scrape the softened film with a razor blade or utility knife. This process may require more effort and patience compared to using heat, but it can be done with care.
Another method is to use ammonia-based cleaners or adhesive removers, as mentioned in a previous response. These solutions can help soften the adhesive, making it easier to peel off the tint film without the need for external heat sources. Be cautious with chemicals, as they may emit fumes and need proper ventilation.
Does glass cleaner remove tint?
Although Windex Original Glass Cleaner offers the best streak-free shine, it contains ammonia, which works to break down and remove tint. This type of cleaner is too strong and potent for the sensitivity of ultra-thin car film.
Glass cleaner alone is typically not sufficient to remove window tint. Glass cleaner is great for clarity but can’t dissolve the adhesive used in tint film. To remove window tint effectively, it’s generally recommended to use methods involving heat, adhesive removers, or soapy water in combination with a razor blade.
Use glass cleaner after removing tint to thoroughly clean and remove any leftover residue.It’s essential to ensure that the glass is clear and free from any leftover materials or streaks, especially after tint removal.
Does removing tint damage defroster?
Even if great care is taken to remove the tint and none of the horizontal heating elements or side buss bars are damaged the defroster can still be badly damaged or destroyed by tint removal as the conductive material is pulled from the glass by the tint.
Removing window tint should not damage the defroster lines on the rear window as long as you follow proper procedures and exercise care during the removal process. Defroster lines are made of conductive materials like silver or aluminum, built to withstand wear and temperature changes.
To prevent damage to the defroster lines, avoid using excessive force when scraping off the tint film or adhesive. Use a plastic scraper or a non-abrasive tool to gently remove any residue. Additionally, avoid using abrasive materials or sharp objects that could scratch or puncture the defroster lines.
If you notice any damage to the defroster lines during or after tint removal, it’s advisable to consult a professional for repairs. They can assess the damage and, if necessary, make the needed repairs to ensure the defroster functions correctly.
Why does back window tint bubble?
Temperature and humidity can contribute heavily to window tint bubbling, but the quality of the film and sealant are also critical factors. Professionally installed window tints are usually made from high-quality film and adhesive sealant that won’t bubble up when the sun, temperature or humidity changes
Back window tint bubbles result from factors like poor installation, heat exposure, or low-quality film. When tint is improperly installed, air or moisture can become trapped between the film and the glass, leading to bubbles.
Exposure to high temperatures, especially in hot climates, can cause the adhesive on the tint film to soften and release air, creating bubbles. Low-quality tint film may also be more prone to bubbling, as it may have inconsistent adhesive properties.
To prevent tint bubbles, it’s crucial to have your window tint professionally installed by experienced technicians who use high-quality tint film. Keeping your vehicle in shaded areas or using sunshades can help reduce heat exposure, which may prolong the life of your window tint and minimize the risk of bubbling. Consult a professional if you see bubbles in your tint for evaluation and potential replacement to preserve appearance and function.
Conclusion
Congratulations! You’ve successfully completed the journey of learning how to remove window tint from your back window. Armed with the knowledge and techniques outlined in this guide, you can now tackle this task confidently and effectively. Whether you needed to remove the tint for practical reasons, to refresh the appearance of your vehicle, or simply to comply with local regulations, you’ve acquired a valuable skill that every car owner should have in their toolbox.
We’ve emphasized the importance of safety precautions, proper tools, and techniques. By following these guidelines, you’ve not only ensured a successful tint removal but also safeguarded yourself from potential hazards. Remember to prioritize your safety by wearing protective gear, maintaining good ventilation, and using the right tools for the job.
You’ve learned about the differences between factory-installed and aftermarket window tint, which can influence the removal process. Understanding these distinctions allowed you to choose the most appropriate method for your specific situation, ensuring a smoother and more efficient removal.
As you’ve discovered, removing window tint from the back window involves patience and precision. It’s a task that requires attention to detail, but with practice, it becomes more manageable. Whether you used the heat and adhesive method, the ammonia-soaked trash bags technique, or another method, your dedication has paid off.
Now, with a clear and tint-free back window, you can enjoy improved visibility, comply with local regulations, and take pride in the well-maintained appearance of your vehicle. Has been a valuable resource on your journey to becoming a more informed and capable car owner. Safe travels!