Introduction
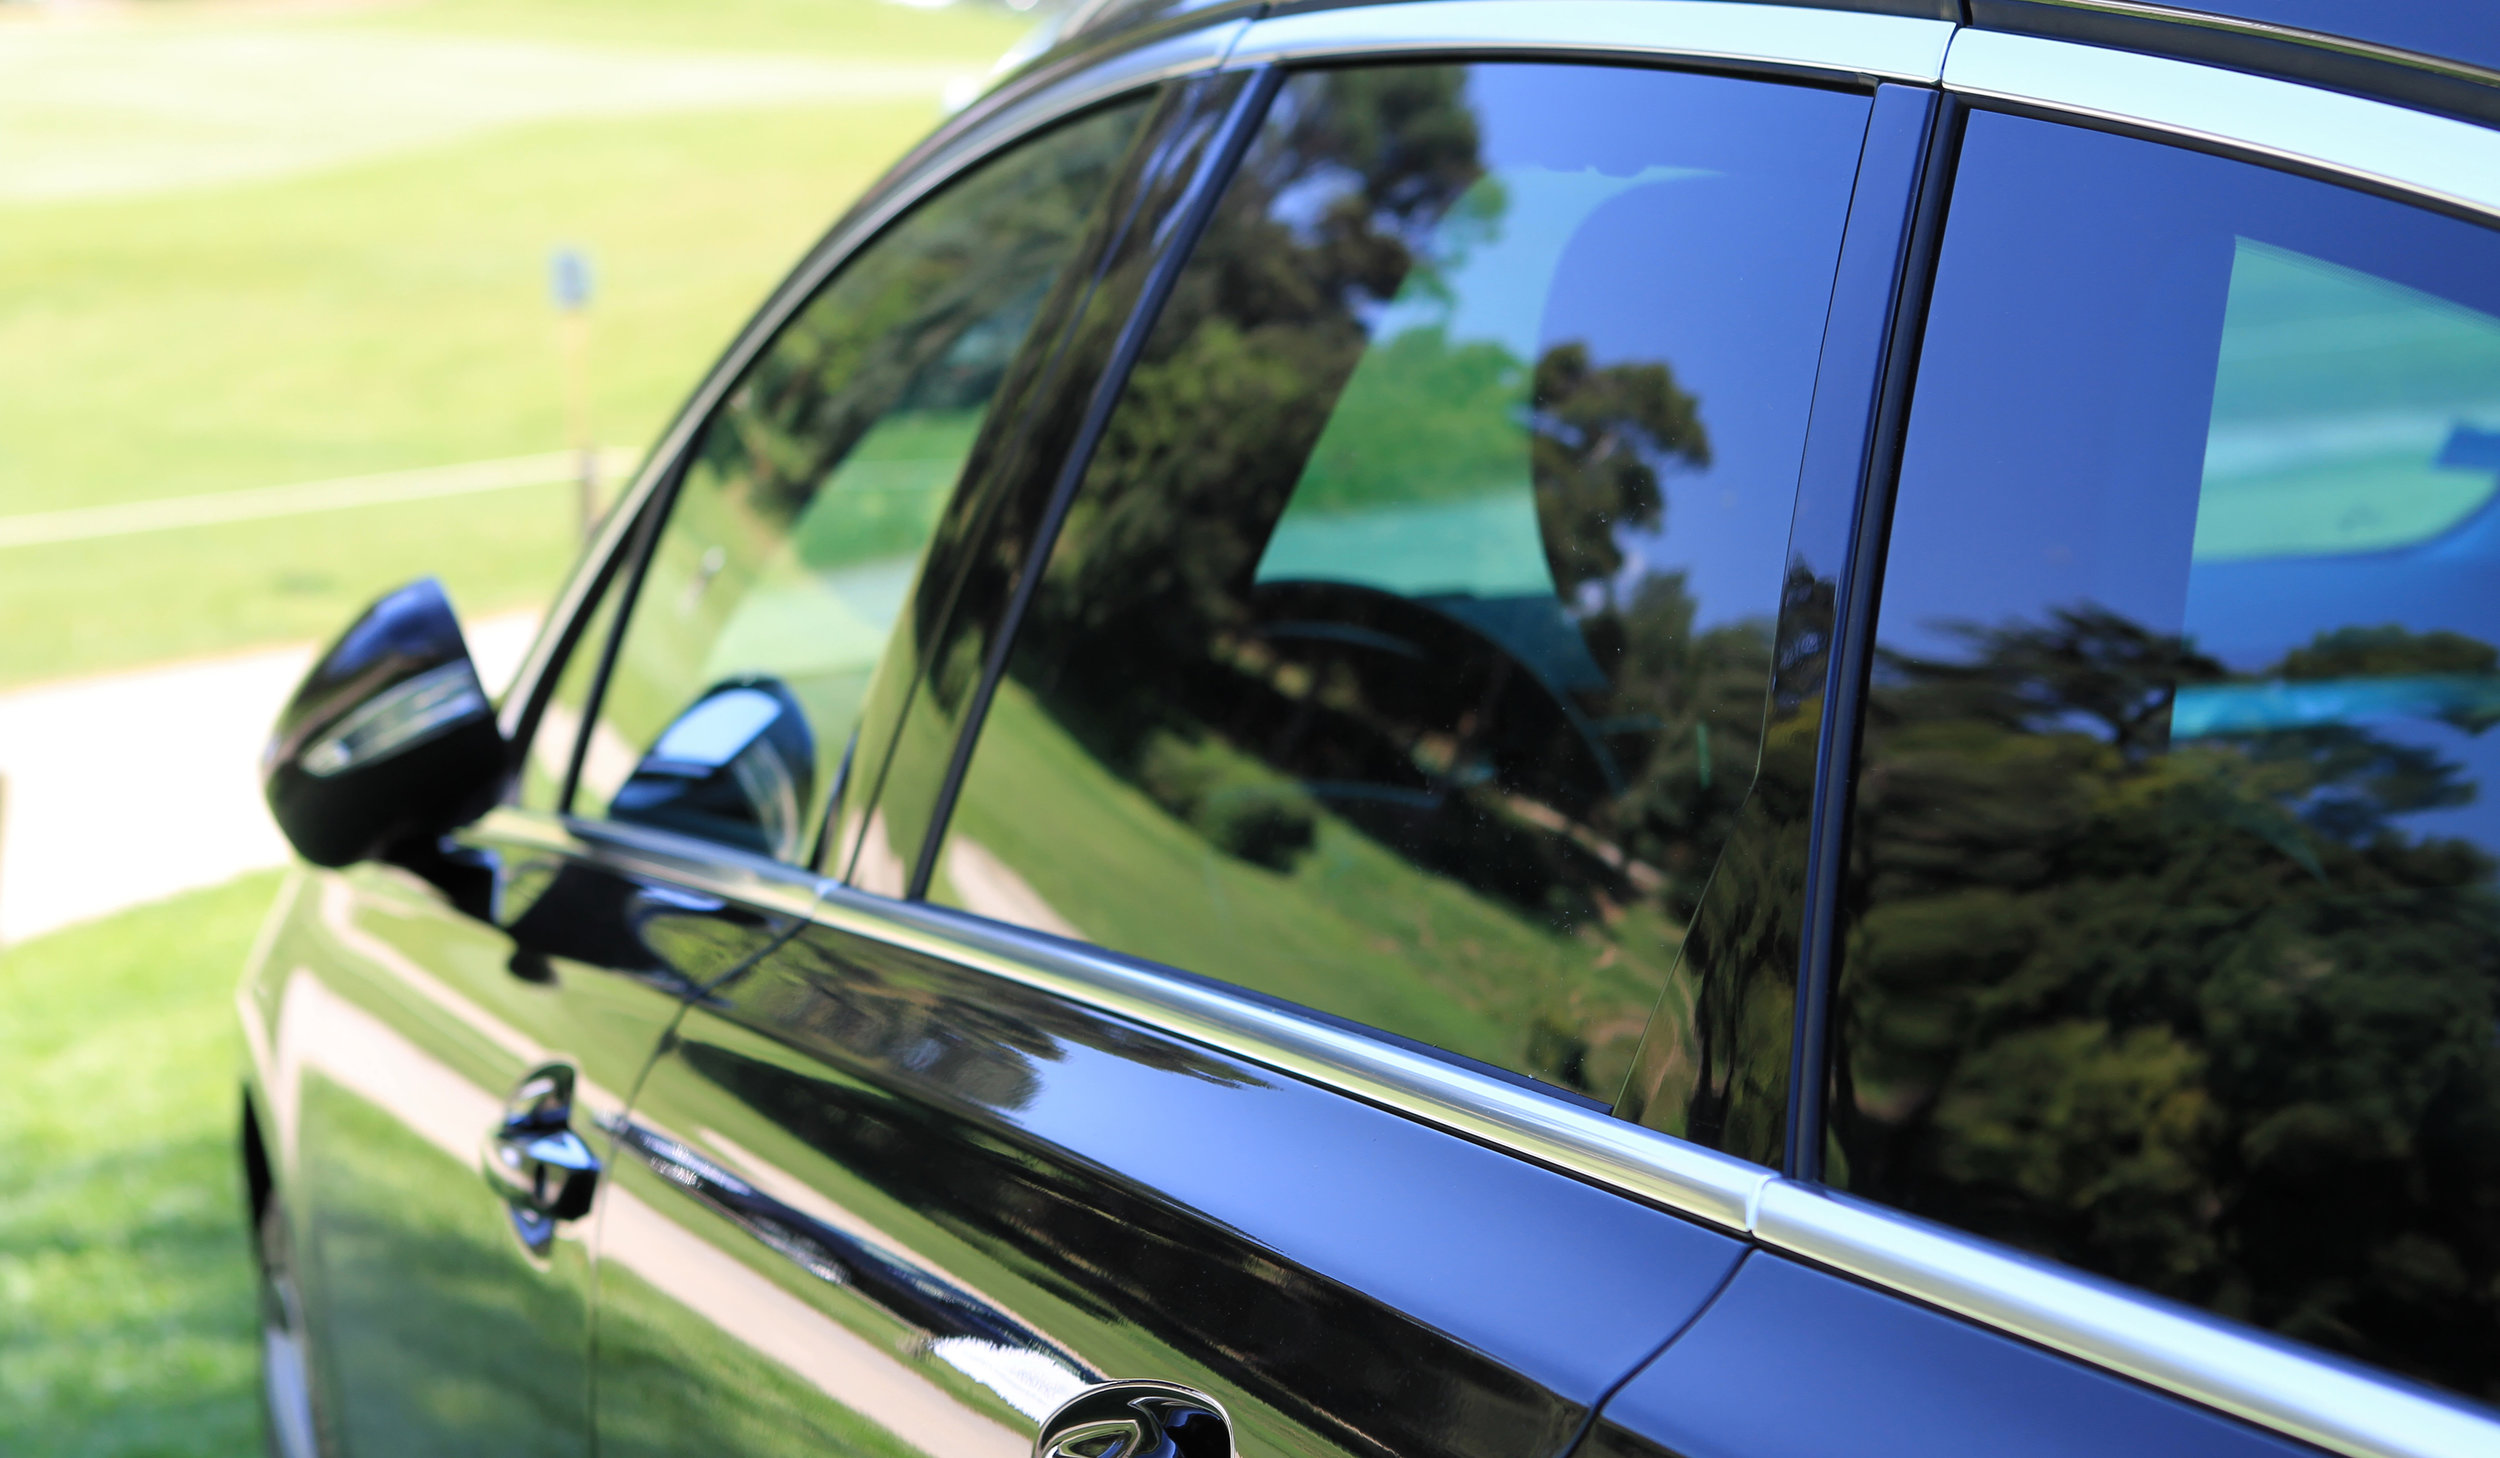
How To Install Car Window Tint: Car window tinting offers numerous benefits, including privacy, UV protection, heat reduction, and enhanced aesthetics. If you’re interested in improving the comfort and style of your vehicle, installing window tint can be a rewarding DIY project. Window tinting regulations vary by location. Start by researching your local and state laws to understand the allowable tint darkness levels and any restrictions on which windows can be tinted. Compliance with these regulations is crucial to avoid legal issues.
To successfully install window tint, you’ll need the right materials and tools, including tint film, a squeegee, a heat gun or hair dryer, a utility knife, a spray bottle with soapy water, and cleaning supplies. High-quality tint film is essential for a professional-looking and long-lasting installation. Find a clean and dust-free area with good lighting. This will make the installation process more manageable and help ensure a smooth finish. Clean the windows thoroughly inside and out. Remove any dirt, dust, or debris.
A mixture of water and a few drops of dish soap can be used as a cleaning solution. After the tint has dried and cured, inspect the window tinting for any imperfections, such as air bubbles or creases. If necessary, use the heat gun and squeegee to correct them. With proper preparation and patience, installing car window tint can be a rewarding DIY project that enhances your vehicle’s aesthetics and comfort. However, if you’re uncertain about your tinting abilities, or if you want a professional finish, consider having the tint installed by a reputable automotive window tinting professional.
Can you add tinted windows to a car?
In most modern vehicles there is a slight tint added to the windows when they are made. If you add any more tint it’s likely to result in the windows failing to meet the legal requirements. The rules on tinted windows don’t apply to the rear windscreen or the rear passenger windows.
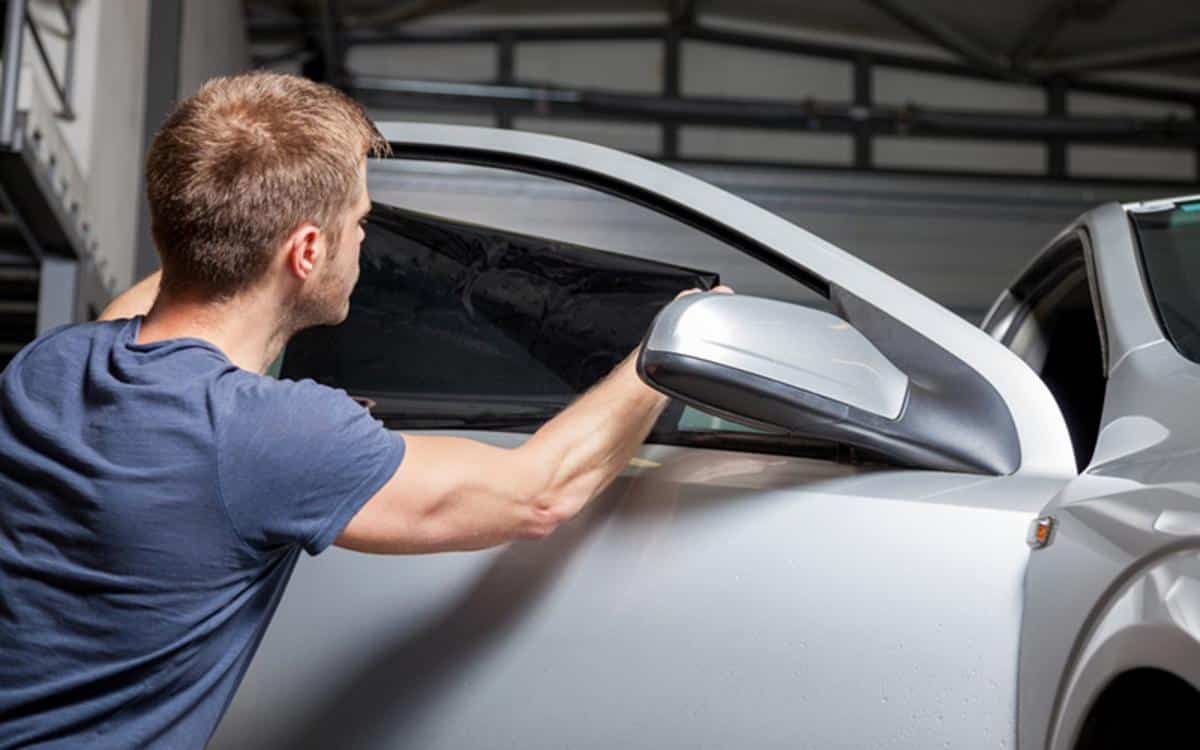
Professional Installation: While it’s possible to purchase window tint film and attempt a DIY installation, it’s highly recommended to have tinted windows professionally installed. Professional installers have the expertise and tools needed to ensure a high-quality, bubble-free, and long-lasting tint job.
Selecting the Right Tint Film: There are different types of window tint films available, including dyed, metalized, carbon, and ceramic films. Each type offers varying degrees of heat rejection, UV protection, and glare reduction. Consider your preferences and needs when choosing the type of tint film for your car.
Choosing the Tint Darkness Level: The darkness or tint percentage you choose for your windows should comply with local tinting regulations. Front side windows and windshields often have stricter limits than rear side windows and the rear window. Be sure to check your local laws to avoid legal issues.
Is window tint glued on?
On every window film, there is a clear protective liner, usually made of polyester, which is used to cover the adhesive part and protect it from contamination before installation. Window film technology has a variety of adhesives, but they generally fall into two categories: a dry and a sticky.
Yes, window tint is applied using a special adhesive that is part of the tint film. This adhesive is designed to bond the tint film to the glass surface of the window. When properly installed, the adhesive creates a strong and durable bond, ensuring that the tint film remains securely attached to the window over time.
During the installation process, the adhesive side of the tint film is carefully applied to the inside surface of the window. The adhesive adheres to the glass, while the non-adhesive side of the film faces the interior of the vehicle. Proper installation involves smoothing out the film to remove air bubbles and ensure an even application, allowing the adhesive to make a secure bond with the glass.
The adhesive used in window tint film is specifically formulated for this purpose, and it is designed to withstand various environmental factors, including temperature changes, humidity, and exposure to sunlight. This ensures that the tint film remains in place and retains its appearance and functionality for an extended period.
What spray is used to apply tint?
For best results, get spray-happy. Gila Window Film Application Solution is formulated and packaged for easy use and expert results. Try using it liberally, not only for keeping glass surfaces wet while you work, but also for preparing the glass before you begin.
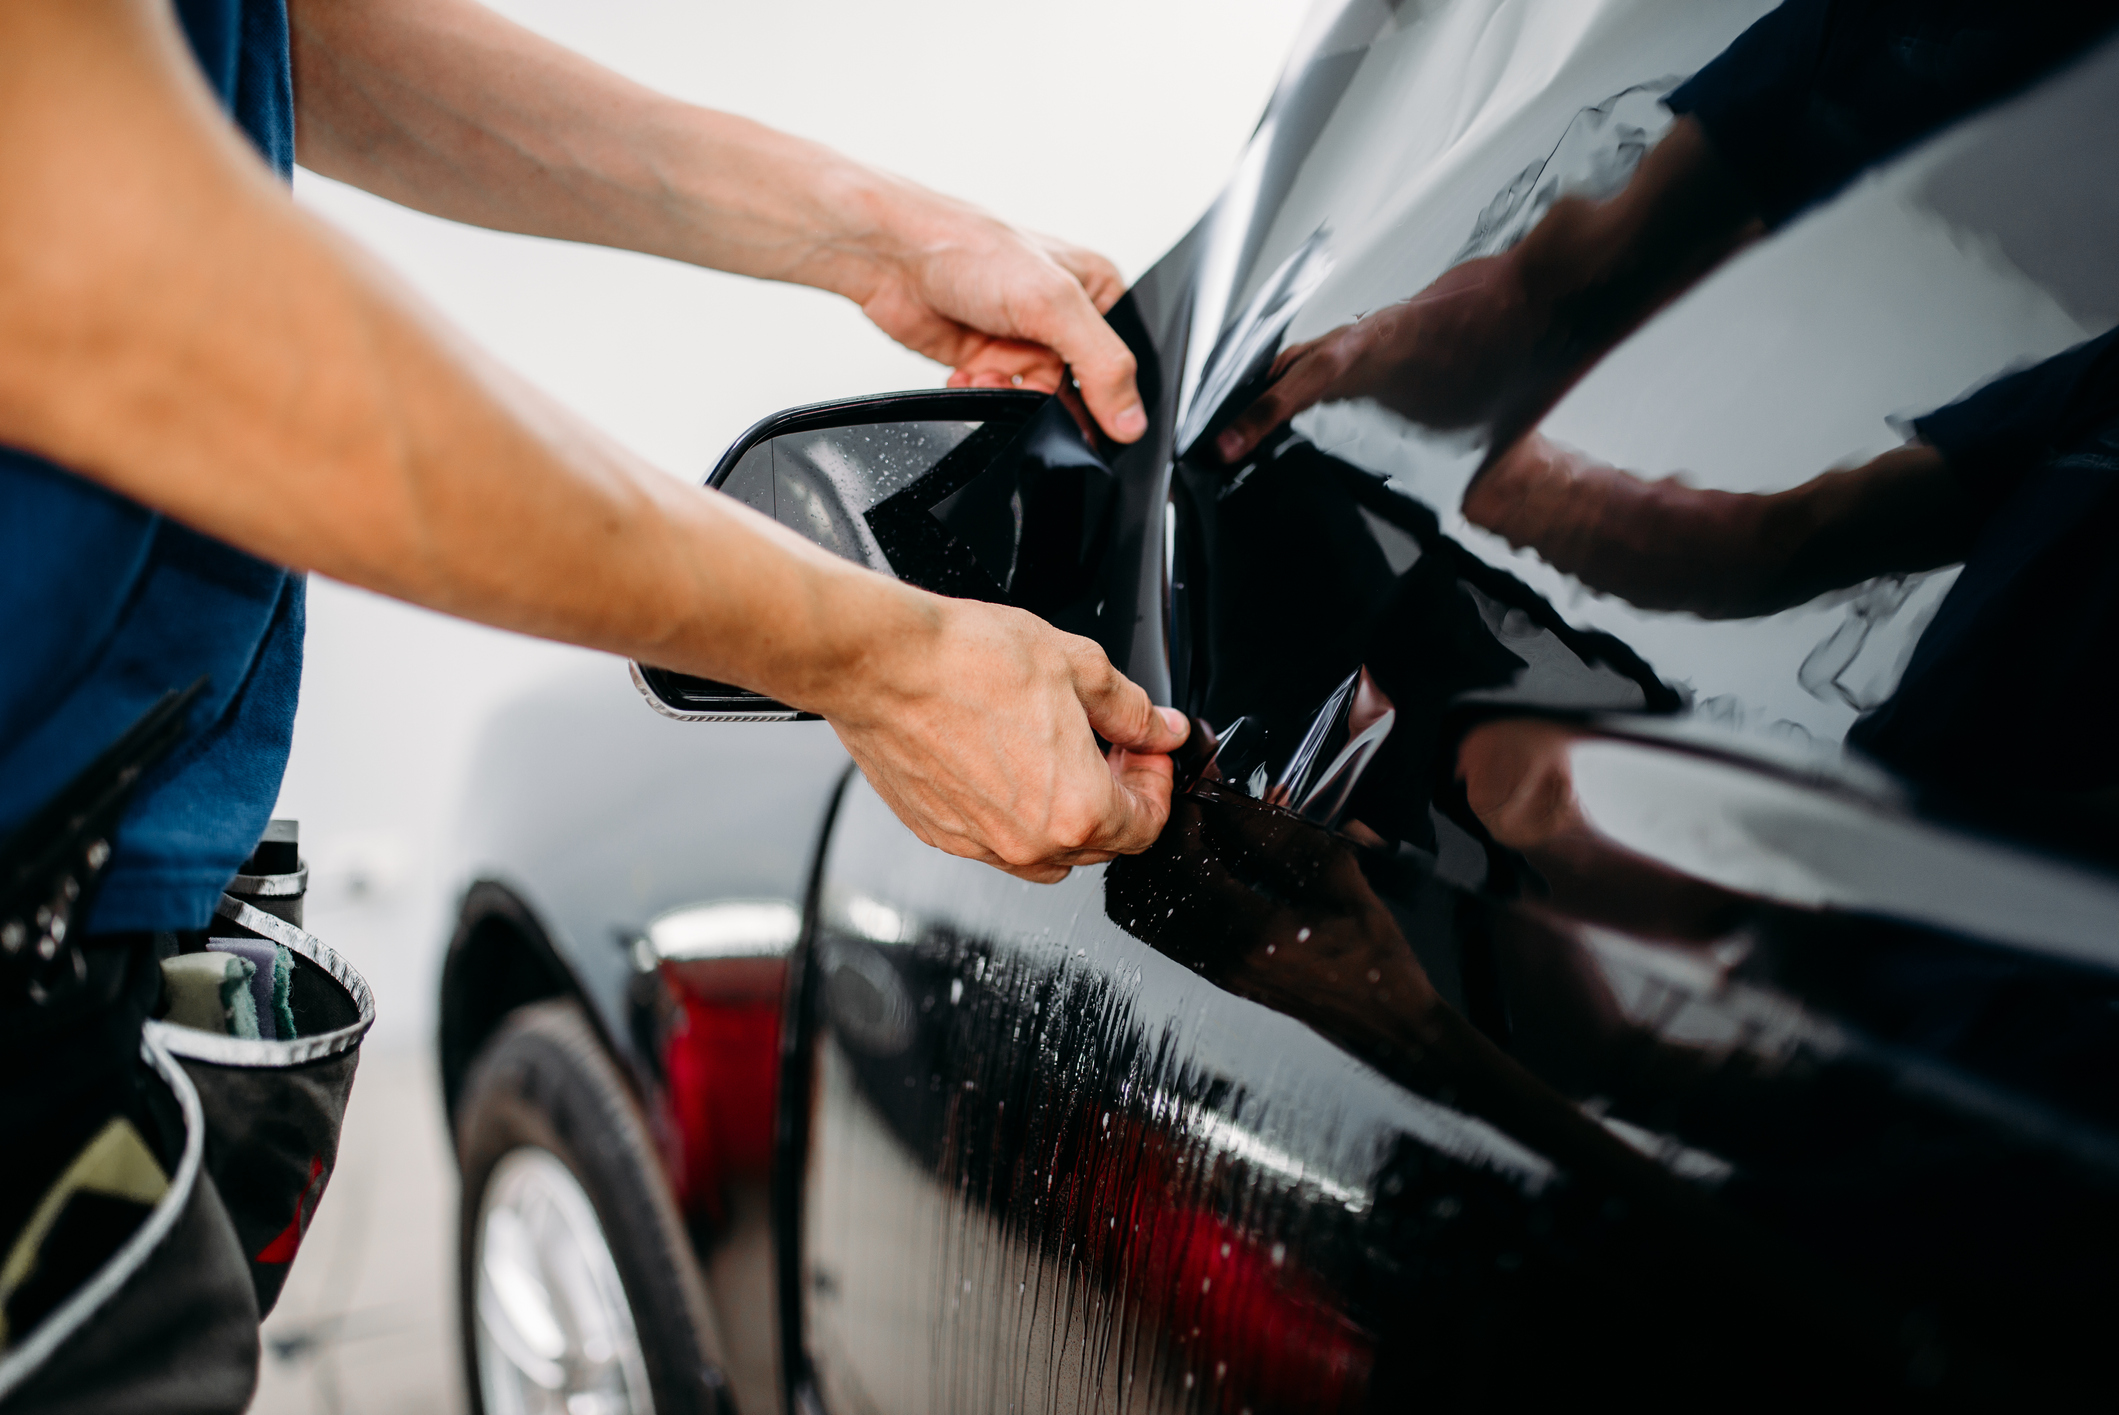
Cleaning: The first step is to thoroughly clean the interior surface of the window to remove any dust, dirt, or contaminants. This ensures that the tint film adheres properly and results in a clean finish.
Spray Application: After cleaning, the installer applies the water and soap solution to the interior surface of the window. The solution is sprayed evenly across the entire area where the tint film will be applied.
Tint Film Placement: The tint film, which has a protective backing, is carefully positioned on the wet glass surface. The moisture from the solution allows the installer to move and adjust the film as needed to ensure it’s correctly aligned with the edges of the window.
What spray to use when applying tint?
Squeeze five to ten drops of baby shampoo (or liquid soap) into a one quart spray bottle. The quantity of soap needed is dependent on the amount of lubrication (“slip”) that you need and want. Novice installers typically need more soap, this way making it more slippery.
Clean the interior surface of the window thoroughly to remove any dirt, dust, or contaminants.
Spray the tint application solution evenly onto the interior surface of the window where you will apply the tint film. The solution should create a thin, even layer on the glass.
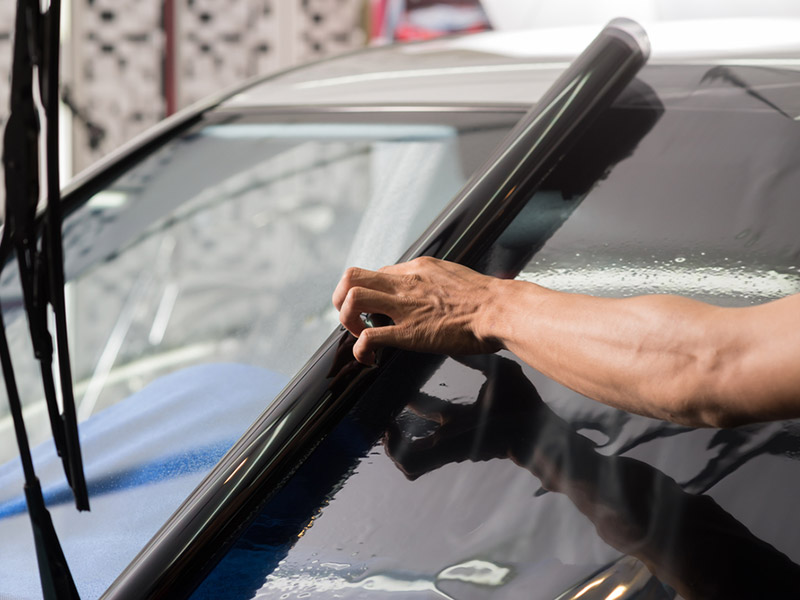
Carefully position the tint film onto the wet glass surface. The moisture from the solution will allow you to adjust the film’s position until it’s correctly aligned.
Use a squeegee to remove excess water and air bubbles from between the film and the glass. Start from the center and work your way outward, pressing the film against the glass as you go.
What liquid is used to apply window film?
Start by creating an installation mixture using a spray bottle filled with water and a few drops of mild baby shampoo or dish detergent. Window cleaner without ammonia can be used if applying a small piece of film but it may dry too fast when installing larger pieces.
To apply window film, a specific liquid solution is used to aid in the installation process. This solution is commonly referred to as “window film application solution” or “tint solution.” It’s essential for lubricating the film, facilitating proper positioning, and assisting in the removal of air bubbles during installation.
The typical window film application solution consists of the following ingredients:
Distilled Water: Distilled water is recommended to avoid the minerals found in tap water, which can leave spots or streaks on the film and glass.
A Few Drops of Mild Dish Soap or Baby Shampoo: These help reduce the surface tension of the water, preventing the film from sticking too quickly and allowing for easier positioning.
How do you calculate tint?
To calculate the actual VLT of the glass with film applied to it, you need to multiply the VLT of the window tint applied by the VLT of the glass. For example, applying a 5% film to glass with an 80% tint to it, you would multiply 5% x 80% = (0.05×0.80)x100 = 4%.
Understand Tint Darkness Percentages:
- Tint darkness is usually expressed as a percentage, such as 5%, 20%, or 35%. This percentage represents the amount of visible light that the tint allows to pass through the window.
- A lower percentage indicates darker tint and less visible light transmission, while a higher percentage means lighter tint with more visible light allowed through.
Determine Your Starting Point:
- If you know the starting VLT percentage (e.g., 100% for untinted glass), you can calculate the tinted VLT by subtracting the specified tint darkness percentage from 100%. For example, if you have 20% tint, the calculation would be: 100% – 20% = 80% VLT.
Consider Multiple Windows:
- Keep in mind that different windows on a vehicle may have varying degrees of tint. For instance, front side windows, rear side windows, and the rear window may all have different VLT percentages to comply with local tinting regulations.
- Calculate the VLT for each window separately, especially if they have different tint levels.
Can you put tint on outside of car window?
You can tint the windows on the outside in the same way that you would on the inside. For the best results, invest in the highest-quality window film available. When you install the film on the outside, it is vulnerable to damage from a variety of sources, including abrasive cleaners.
Protection: Applying tint to the inside of the window provides protection for the tint film itself. The film is less exposed to environmental elements, such as dirt, debris, rain, snow, and UV radiation. This helps prolong the life and effectiveness of the tint.
Appearance: Tint applied on the inside of the window maintains a sleek and uniform appearance, as it is protected from external factors that can cause damage or peeling. Externally applied tint may appear less appealing and may not adhere as well.
Visibility and Safety: Tint applied on the inside ensures optimal visibility and safety. It won’t obstruct the driver’s view or affect the operation of windshield wipers, defrosters, or other essential components.
Is window tint waterproof?
A common question we hear from customers is “is window film waterproof”. In general, the answer to this question is yes, window films are waterproof.
Water Resistance: Window tint is generally resistant to light rain, moisture, and condensation. It’s designed to be durable and can endure occasional exposure to water without significant damage.
Moisture Evaporation: After window tint is installed, there may be some moisture trapped between the film and the glass. This is normal and should evaporate over time as the adhesive cures and bonds the film to the glass. It’s common to see small water bubbles or a hazy appearance immediately after installation, but these usually disappear as the tint dries.
Cleaning: When cleaning tinted windows, you can use a mild, ammonia-free glass cleaner and a soft, non-abrasive cloth. Gently wipe the surface without scrubbing to avoid damaging the tint. Excessive or aggressive cleaning, especially with abrasive materials, can potentially affect the tint’s longevity and appearance.
Conclusion
Deciding whether to install window tint yourself or seek professional help ultimately depends on your skills, comfort level, and the complexity of your vehicle’s windows. While DIY tinting can be a rewarding and cost-effective option, it may not be suitable for everyone. Complex curved windows, tight spaces, and the desire for a flawless finish are some factors that may lead you to choose a professional installer. Professionals have the experience and tools to tackle challenging installations effectively.
Regardless of whether you choose the DIY or professional route, attention to detail is paramount. Patience, precision, and meticulousness are your allies in achieving a high-quality tint job. Take the time to properly prepare the windows, cut the film accurately, and eliminate air bubbles and imperfections during installation. The quality and type of tint car film you choose have a significant impact on the longevity and performance of your window tint.
High-quality films, while potentially more expensive, offer superior heat rejection, UV protection, and fade resistance. The choice of film type (dyed, metalized, carbon, ceramic) should align with your specific needs and budget. Always prioritize legal compliance when it comes to window tint installation. Familiarize yourself with local and state tinting laws to avoid fines or legal complications. Front side windows and windshields typically have stricter regulations than rear side windows and the rear window.