Introduction
How To Get A Cd Out Of Car Stereo: you’re driving along, enjoying your favorite music on a CD, when suddenly your car stereo decides to hold onto your cherished disc with an iron grip. Panic sets in as you wonder how to get a CD out of your car stereo without causing damage. The frustration is all too familiar to many drivers who have faced this dilemma.
We’ll explore both the common and the not-so-common scenarios you might encounter, such as a stuck or jammed CD, an unresponsive eject button, or even a malfunctioning stereo. You’ll discover the do’s and don’ts of CD extraction, as well as precautions to avoid potential damage to your car’s audio system.
So, if you’ve ever found yourself in the frustrating situation of wondering how to get a CD out of your car stereo, fear not. We’re here to provide you with the knowledge and guidance you need to tackle this challenge head-on and get your music back on track. Let’s dive into the world of CD retrieval from car stereos and unlock the secrets to a harmonious driving experience.
How do you get a stuck CD out of a Bose player?
Turn the system upside down.
In some cases the shock absorbing grommets used beneath the CD mech may come loose. The disc may not eject in this situation because it is obstructed by the faceplate. Turning it upside down may align the two components and allow the disc to come free.
Carefully Remove the CD:
- As the CD tray opens, use your fingers to grasp the edge of the stuck CD gently.
- Slowly and steadily pull the CD out of the tray. Be cautious not to bend or scratch the CD during this process.
Inspect the CD:
- After removing the CD, carefully inspect it for any damage or scratches. If it appears to be in good condition, you can attempt to play it again. If it’s damaged, you may need to consider replacing it.
Test the Player:
- Once the CD is removed, power on the Bose CD player and test it with a different CD to ensure that it operates correctly.
Why is my CD not ejecting from my car?
Make sure you turn off the ignition and then press and hold both the power and eject buttons for at least 10 seconds. Hopefully this will force the system to rectify itself and eject your CD with no harm to the player or the CD itself. If this doesn’t work, sometimes turning the car on and doing this can work too.
Eject Button Issues:
- First, make sure the CD player is powered on and functioning correctly.
- Press the eject button firmly and hold it for a few seconds. Sometimes, a long press is needed to trigger the eject mechanism.
Car Battery Issues:
- If your car’s battery recently died or was disconnected, the CD player might experience temporary glitches. Restarting your car may help reset the CD player.
Multiple Discs or Jammed Discs:
- Ensure there is only one CD in the player. If there are multiple discs, the player may have difficulty ejecting any of them.
- If you believe there is a jammed disc, try gently tapping the faceplate near the CD slot while pressing the eject button. This can help dislodge a stuck CD.
Why is my CD stuck?
The CD mechanism is probably dirty or misaligned. If the tracks that the lens assembly rides on wear out or lose their lubrication, then the lens can’t travel all along the CD path like it needs to. So then it can only play a certain section of the CD before it gets stuck.
Mechanical Jam: A mechanical issue within the CD player, such as a misaligned or jammed CD tray or mechanism, can prevent the CD from ejecting properly.
Damaged CD: If the CD itself is damaged or scratched, it may not eject smoothly. The player may struggle to read the disc or release it.
Electrical Glitch: Sometimes, an electrical glitch or malfunction in the CD player’s internal components can cause the eject mechanism to fail.
Multiple Discs: If multiple CDs were accidentally loaded into the player, it can lead to a jam, preventing any of the discs from ejecting.
Why can’t I erase a CD?
If you don’t see the “Erase” option when using one of the ways above, you likely have a CD or DVD that you can only write once, rather than a CD-RW or DVD-RW (rewritable).
Prepare the New Content: Make sure you have the updated or modified files or data that you want to burn onto a new CD.
Insert a Blank CD-R: Obtain a blank CD-R (not CD-RW) disc and insert it into your CD burner or writer drive.
Burn the New Content: Use CD burning software on your computer (such as Windows Media Player, iTunes, or third-party CD burning software) to create a new disc with the desired content. Follow the software’s instructions to burn the new CD.
Label and Store: Once the new CD is burned, label it appropriately and store it for future use.
Can a car CD player be repaired?
You May Be Able to Fix It Yourself
Often, just replacing a very inexpensive part or cleaning the inner workings of the drive will completely renew the device back to perfect working condition.
Eject Mechanism Problems: If the CD player is not ejecting discs or is having trouble loading them, it may be due to mechanical issues. A technician can inspect and repair or replace the eject mechanism, gears, or belts responsible for disc handling.
Optical Pickup Issues: The optical pickup is the component responsible for reading the data from the CD. Problems with the optical pickup can result in difficulty playing or skipping CDs. This component can sometimes be repaired or replaced.
Electrical Problems: Electrical issues, such as a malfunctioning power supply, loose connections, or damaged wiring, can lead to CD player malfunctions. A technician can identify and repair these electrical problems.
Can you clean a car CD player?
Use a car dashboard cleaner and a clean microfiber towel* to wipe the buttons. The best way to clean the interior of the CD player is to buy a specific cleaner CD. These CDs are specially equipped to brush the CD player’s interior and gently remove dust and debris. Your CD player should look good as new.
Step 1: Safety Precautions
- Ensure that your car’s ignition is turned off and the keys are removed from the ignition to prevent accidental electrical shock or damage.
Step 2: Remove the CD
- Eject any CD that may be in the player. Make sure the player is empty before proceeding.
Step 3: Compressed Air
- Use a can of compressed air to blow out any loose dust or debris from the CD tray or the CD slot. This helps remove loose particles that could interfere with the cleaning process.
Step 4: Cleaning the Lens
- Moisten a cotton swab or a soft, lint-free cloth with isopropyl alcohol. Be sure the alcohol is at least 90% concentration to avoid leaving residue. Do not use water or other cleaning solutions, as they may damage the lens or leave residue.

Conclusion
When dealing with a stuck CD, patience is your ally. Avoid using excessive force, sharp objects, or makeshift tools to extract the disc, as this can lead to damage. Instead, take a calm and methodical approach. The most straightforward method is to use the eject button on your car stereo. In most cases, pressing the button should release the CD. If the button isn’t responsive, consider troubleshooting the issue with possible solutions like checking the fuse, resetting the stereo, or performing a battery disconnect.
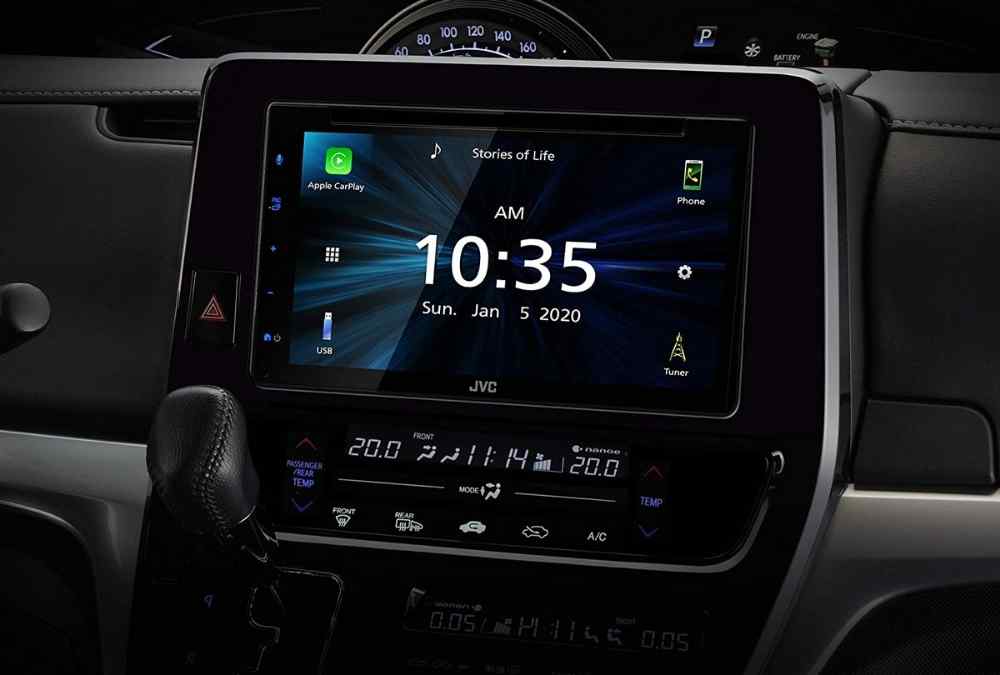
If the eject button fails, many car stereos have a manual release hole that can be accessed with a paperclip or a similarly sized tool. Inserting the tool gently and at the correct angle can trigger the manual release mechanism and eject the CD. If you have a modern infotainment system with a touchscreen interface, navigating the menu options for CD control may provide a solution. Look for the eject or source options in the system’s settings.
If all else fails, and you’re uncomfortable attempting to resolve the issue yourself, consider seeking professional assistance from a car audio technician or a dealership service center. They have the expertise and tools to diagnose and address more complex problems. To minimize the risk of future CD player extraction issues, practice preventive maintenance by keeping your CDs in good condition, avoiding damaged or scratched discs, and ensuring that your car stereo receives regular maintenance.