


Introduction
The temperature inside a car trunk can soar to surprisingly high levels, especially under intense sunlight and during warmer months. Understanding the potential heat buildup in a car trunk is crucial for ensuring the safety of items and living organisms stored within it.
When a car is parked in direct sunlight, the trunk acts as a confined space that traps heat, causing the temperature inside to rise rapidly. Without proper ventilation or insulation, this can lead to dangerously high temperatures. Studies have shown that on a typical sunny day with outside temperatures ranging from 80 to 100 degrees Fahrenheit, the interior of a car trunk can reach well over 150 degrees Fahrenheit within just a few hours.
The heat buildup in a car trunk can have detrimental effects on various objects and materials stored inside. For example, certain items such as electronics, medications, or perishable goods may become damaged or spoiled due to excessive heat exposure. Additionally, if living organisms such as pets or plants are left in the trunk for extended periods, they can suffer from heat stress or even fatalities.
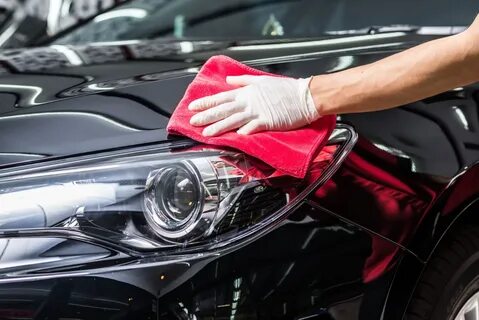
What is the best product to clean plastic headlights?
Toothpaste and baking soda can be effective cleansers for cleaning headlights. Both products are abrasive enough to take off the fog without scratching or damaging the headlights. Polishing compounds such as Rain-X might also be effective enough to remedy UV damage.
When it comes to maintaining the clarity and appearance of your car’s plastic headlights, choosing the right cleaning product is crucial. Over time, headlights can become hazy or yellowed due to exposure to UV rays, road debris, and environmental pollutants. To restore them to their original shine, selecting a reliable cleaning solution is essential.
One of the best products for cleaning plastic headlights is a dedicated headlight restoration kit. These kits typically include everything needed to effectively clean and restore headlights, such as polishing compounds, sandpaper, and UV protectant. They are specifically formulated to remove oxidation, grime, and scratches, leaving the headlights looking clear and bright.
Another excellent option is a specialized headlight cleaner and polish. These products are designed to gently remove dirt and oxidation while restoring clarity to the plastic surface. Look for cleaners that are safe for use on plastic and contain UV protectants to prevent future damage.
For those who prefer DIY solutions, household items like toothpaste or baking soda can be effective at removing surface grime from headlights. However, it’s essential to exercise caution and avoid abrasive materials that could scratch the plastic.
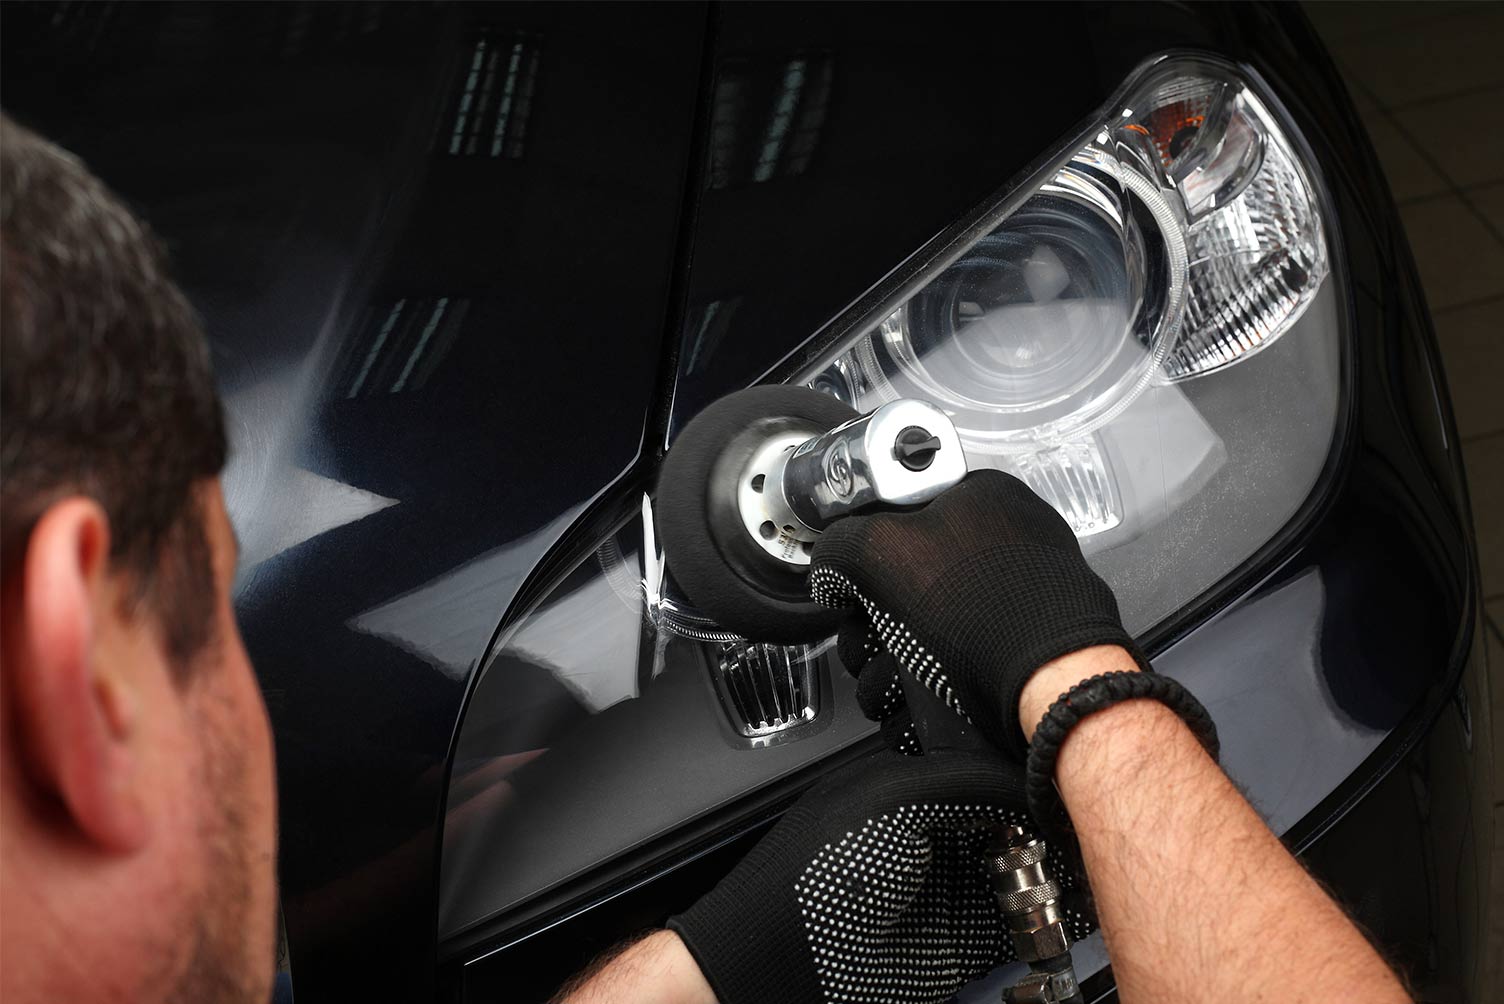
How do you permanently restore plastic headlights?
To permanently restore headlights, you’ll need to sand off the oxidized layer from the lenses and apply a new UV coating. You’ll need sanding sheets and you’ll need to use a grit progression of 600 grit, 1,000 grit, and 2,000 grit.
Restoring plastic headlights is essential for maintaining visibility and safety while driving at night or in adverse weather conditions. Over time, plastic headlights can become yellowed, hazy, or cloudy due to UV exposure, oxidation, and environmental factors. However, with the right tools and techniques, you can permanently restore them to their original clarity.
Start by thoroughly cleaning the headlights with soap and water to remove any surface dirt and debris. Next, tape off the surrounding areas to protect the paintwork.
To remove the yellowing and haze, use a headlight restoration kit. These kits typically contain sandpaper of varying grits, polishing compound, and a sealant. Begin by sanding the headlights with the coarsest sandpaper to remove the outer layer of oxidation. Gradually move to finer grits until the surface is smooth and free of imperfections.
Once sanded, apply the polishing compound using a clean cloth or buffing pad. Work the compound in a circular motion until the headlights regain their clarity. Finally, seal the headlights with the provided sealant to protect them from future damage and maintain the restored finish.
Why do plastic headlight covers get cloudy?
This is caused by the ultra-violet light from the sun. It attacks the surface of the plastic and causes it to get little pock marks and checks in it and so on, and you see it as this cloudy appearance. That diffuses the light into the air around the car and in general you can’t see when it happens.
Plastic headlight covers tend to become cloudy over time due to various factors. One primary reason is prolonged exposure to sunlight and UV rays. As plastic is naturally susceptible to UV degradation, the constant bombardment of UV rays causes the molecular structure of the plastic to break down. This degradation leads to the formation of tiny cracks and pits on the surface, which in turn traps dirt, dust, and other contaminants. These particles accumulate, creating a hazy or cloudy appearance on the headlight cover.
Additionally, environmental factors such as pollution, road debris, and harsh weather conditions contribute to the cloudiness. Chemicals present in the air, such as pollutants and acid rain, can react with the plastic surface, further accelerating its deterioration.
Moreover, improper maintenance and cleaning practices can exacerbate the problem. Using abrasive cleaners or rough materials to clean the headlights can scratch the surface, making it more prone to clouding. Similarly, neglecting to regularly clean the headlights allows dirt and grime to build up, worsening the cloudy appearance.
Does lemon clean headlights?
Use your lemon half coated with baking soda to scrub your headlight in a circular motion gently. Once you’ve scrubbed your whole headlight, rinse the solution off with water and dry your headlight with a gentle towel.
Lemons are renowned for their versatility in cleaning tasks, but can they effectively restore the clarity of foggy or yellowed headlights? The answer lies in their acidic properties and mild abrasive nature.
Lemon juice contains citric acid, which has natural cleaning and bleaching properties. When applied to headlights, lemon juice can break down the grime, dirt, and oxidation that accumulate over time, causing the lenses to appear dull or discolored. Additionally, the slight abrasive quality of lemon pulp can aid in gently scrubbing away stubborn residue.
To use lemon juice for headlight cleaning, start by cutting a lemon in half and squeezing out the juice. Apply the juice directly to the headlight lens, ensuring complete coverage. Allow the lemon juice to sit for several minutes to penetrate the buildup. Then, using a soft cloth or sponge, gently scrub the headlight in circular motions to lift away the debris. Rinse thoroughly with water and repeat if necessary.
How do you clean the inside of your headlights without removing them?
I used the grippy tool to place the magnet cleaning tool into the headlight. I then placed the second magnet cleaning tool on the outside. The two attracted each other and made it easy to scrub the inside of the headlight. This got rid of all the dust and grime and made My headlights look new again.
Cleaning the inside of your headlights without removing them is a straightforward process that can significantly improve visibility and the overall appearance of your vehicle. Here’s a simple guide to help you get the job done effectively:
Prepare the Necessary Supplies: Gather a microfiber cloth, a cleaning solution (mild soap and water or a specialized headlight cleaner), a spray bottle, and a vacuum cleaner with a narrow attachment.
Access the Headlight Compartment: Most vehicles have access points behind the headlights, usually located under the hood or within the wheel well. Consult your car manual to locate these access points.
Vacuum Out Debris: Use the narrow attachment on your vacuum cleaner to carefully remove any loose dirt, insects, or debris inside the headlight housing. This step is crucial as it prevents contaminants from causing scratches during cleaning.
What is a home remedy for cleaning plastic headlight lenses?
Use car wash soap exclusively for plastic headlight lenses, as other soaps may damage them due to their abrasive properties. Mix one part car wash soap with two parts water in a spray bottle and spray it directly onto your headlights before wiping it off with a microfiber cloth or paper towel.
Cleaning plastic headlight lenses can be easily achieved with simple home remedies, saving you money and improving visibility on the road. One effective method involves using toothpaste, which contains mild abrasives that can buff away dirt and grime.
To start, gather a soft cloth, non-gel toothpaste (preferably with baking soda), and water. Begin by rinsing the headlight lens with water to remove any loose debris. Then, squeeze a small amount of toothpaste onto the cloth and gently rub it onto the lens using circular motions. Ensure even coverage across the entire surface.
Continue rubbing the toothpaste onto the lens for a few minutes, periodically wetting the cloth with water to maintain moisture. As you work, you’ll notice the toothpaste forming a white, milky residue as it lifts dirt and oxidation from the plastic surface.
Once you’ve thoroughly covered the lens, rinse it clean with water and dry it with a clean cloth. Inspect the lens for any remaining haze or debris, repeating the process if necessary until the lens is clear and shiny.
How long should toothpaste sit on headlights?
It should take about five to ten minutes for each light depending on how foggy your headlamps are. Rinse away the toothpaste with plain water and allow the headlights plenty of time to dry. OPTIONAL – After the lights are completely dry, apply wax to protect your headlights from damage in the future.
When it comes to cleaning headlights, toothpaste is often touted as a budget-friendly solution. However, the question of how long toothpaste should sit on headlights for effective cleaning is common. The answer depends on various factors including the severity of oxidation or grime buildup on the headlights and the type of toothpaste being used.
In general, it’s recommended to apply toothpaste to the headlights and let it sit for about 5-10 minutes before scrubbing. This allows the abrasive properties of the toothpaste to work on breaking down the dirt and oxidation. However, if the headlights are heavily oxidized or dirty, you may need to leave the toothpaste on for a longer period, up to 30 minutes, to achieve the desired results.
During this waiting period, it’s essential to ensure that the toothpaste doesn’t dry out completely on the headlights. Spritzing some water occasionally can help keep the toothpaste moist and active. After the waiting period, use a soft cloth or a toothbrush to scrub the headlights gently in circular motions. Rinse off the toothpaste residue thoroughly with water and dry the headlights with a clean cloth.
Do headlight cleaners work?
“The restoration kits absolutely work, and they’re very much a DIY project that you can do in your garage or driveway,” says Stockburger. “You’ll see much better at night after using these kits.” (Find out how Consumer Reports tests headlights.)
Headlight cleaners are a popular solution for restoring clarity and brightness to foggy or yellowed headlights, but the question remains: do they really work? The answer largely depends on the product and the condition of the headlights.
Many headlight cleaning kits contain abrasive compounds and polishing pads designed to remove surface oxidation and buildup. When used correctly, these cleaners can effectively improve the appearance of headlights and enhance visibility on the road.
However, the effectiveness of headlight cleaners can vary based on factors such as the severity of the damage, the quality of the product, and the application process. Minor haze or discoloration may respond well to cleaning treatments, while more significant damage, such as deep scratches or cracks, may require professional restoration or replacement.
It’s essential to follow the instructions carefully when using headlight cleaners to achieve the best results. Additionally, regular maintenance and protective measures, such as applying a UV-resistant coating, can help prolong the clarity of headlights and prevent future damage.
Conclusion
The temperature inside a car trunk can reach dangerously high levels under certain conditions, posing potential risks to any living beings or sensitive materials left inside. Through experimentation and analysis, it has been observed that various factors such as car external temperature, insulation, ventilation, and duration of confinement play significant roles in determining the trunk’s internal temperature.
Studies have shown that on a hot day, temperatures inside a car trunk can escalate rapidly, often exceeding the external temperature by a considerable margin due to the greenhouse effect. This phenomenon underscores the importance of understanding and addressing the potential hazards associated with leaving living beings, perishable items, or sensitive equipment unattended in such environments.
Efforts to mitigate the risk of heat accumulation in car trunks may include proactive measures such as installing reflective sunshades, ensuring adequate ventilation, or refraining from leaving items or living beings inside unattended for extended periods, especially during hot weather.
Ultimately, awareness of the potential dangers and responsible behavior are essential in safeguarding against the adverse effects of extreme heat within car trunks, promoting safety and well-being for all individuals and materials involved.


